

Using USB webcams with Home Assistant
 过去一个月里,我一直在思考如何再次把 USB 摄像头集成到 Home Assistant 中。主要原因是这能让这些设备重获新生,也能以很低的成本实现视频监控。虽然有一些可用方案,比如 [pygame](http://www.pygame.org/hifi.html) 或 [SimpleCV](http://www.simplecv.org/),但我一直没有真正完成。现在借助 [Landrash](https://github.com/Landrash) 提供的 [Local File 摄像头平台](/home-assistant/integrations/local_file) 和 [motion](http://lavrsen.dk/foswiki/bin/view/Motion/WebHome),只需几个简单步骤就能接入本地 USB 摄像头。
在这篇博客中,我使用的是安装了 Home Assistant 0.22.1 的 Fedora 24(大概率也适用于其他发行版)环境,运行设备为 Foxconn nT-330i,连接了一台旧的 Logitech QuickCam Orbit AF 和一台 Logitech HD Webcam C270。作为开始,我们先只使用 QuickCam,暂时不做多摄像头设置。
先检查你的操作系统是否已经识别到摄像头。
我们要用的摄像头位于 /dev/video1,而 C270 对应的是 /dev/video0。
我们还需要一个额外的软件来处理摄像头。motion 可以监控来自 USB 和网络摄像头的视频信号,进行运动检测,以及执行很多实用功能,比如保存图像、叠加文字,或做一些基础图像处理。请确保你已经启用了 RPM Fusion 软件源。
针对我们的设置,需要修改 /etc/motion/motion.conf 文件。目前最关键的参数是 videodevice、snapshot_interval 和 target_dir。其他设置可以先保持默认。我们将使用 /dev/video1 这个设备,截图间隔设为 30 秒,路径设为 /tmp。
建议你至少调整 width 和 height,这样可以从摄像头获得更大的图像。设置完成后,启动 motion。
你的 target_dir 目录会开始不断出现摄像头生成的图像。motion 会创建一个名为 lastsnap.jpg 的符号链接,它始终指向最新快照。接下来我们会把 Local File 摄像头平台 设置为读取这个文件。
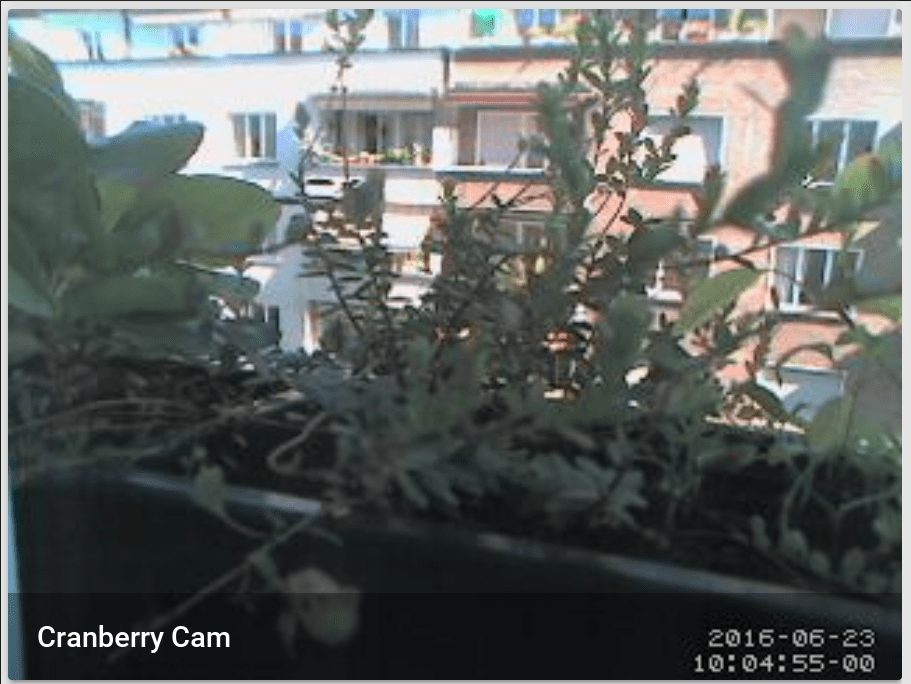 "Cranberry cam" 运行中的画面
连接了 USB 摄像头的这台机器也会变成一个摄像头服务器,因为 motion 内置的 HTTP 服务器默认就是开启的。这意味着你可以把 USB 摄像头接到局域网中的另一台机器上,在那台机器运行 motion、调整防火墙规则,然后在 Home Assistant 中显示视频流。只要访问 http://[IP of your webcam host]:8081/ 就能看到画面。当然,与快照模式相比,这需要更强的硬件性能。
在这种场景下,你需要在 configuration.yaml 里配置 Generic MJPEG IP 摄像头。
motion 是一个功能强大的工具,而这篇博客只展示了两个非常基础的用法。可以查看 motion 的文档,进一步挖掘它的潜力。