Nmap Tracker

作为基于路由器的设备跟踪的替代方案,可以使用 Nmap 直接扫描网络中的设备。要扫描的 IP 地址可以以 Nmap 理解的任何格式指定,包括网络前缀表示法(“192.168.1.1/24”)和范围表示法(“192.168.1.1-255”)。

Note

Please keep in mind that modern smart phones will usually turn off WiFi when they are idle. Simple trackers like this may not be reliable on their own.

Configuration

To add the Nmap Tracker integration to your Home Assistant instance, use this My button:

Open Add integration in your Home Assistant instance.

Manual configuration steps
  • Browse to your Home Assistant instance.
  • Go to Settings > Devices & services.
  • In the lower-right corner, select Add integration.
  • From the list, select Nmap Tracker.
  • Follow the instructions on screen to complete the setup.
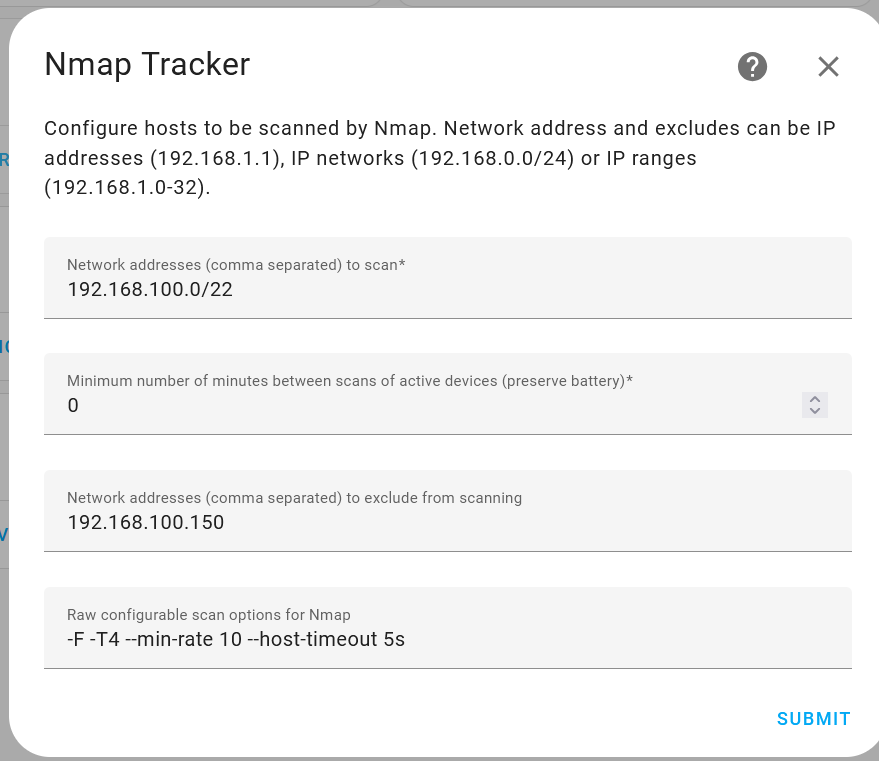
如何自定义 Nmap 扫描仪的示例: nmap 定制示例

Network addresses to scan:
  description: Network range to scan using [CIDR notation](https://en.wikipedia.org/wiki/Classless_Inter-Domain_Routing). In the example above it will scan addresses from `192.168.100.0` to `192.168.103.255`.
Minimum number of minutes between scans of active devices:
  description: Frequency of the scans. The lower the number, the quicker it will detect devices connected and disconnected usually at the cost of the devices battery life. The example above will scan every minute.
Network addresses to exclude from scanning:
  description: A comma-separated list of IP addresses not to scan. The above example will skip `192.168.100.150`.
Raw configurable scan options for Nmap:
  description: Nmap command line parameters which can be used to configure how Nmap scans the network. For more details see [Nmap reference guide](https://nmap.org/book/man.html).

有关如何配置要跟踪的人员的说明,请参阅设备跟踪器集成页面