

IFTTT
IFTTT 是一项 Web 服务,可让您创建由简单条件语句组成的链式自动化,也就是所谓的“Applets”。借助 IFTTT 集成,您可以通过 "Webhooks" 服务(此前称为 "Maker" 渠道)触发 applet。这需要 Pro 方案或更高版本。
先决条件
要接收来自 IFTTT 的事件,您的 Home Assistant 实例需要能从互联网访问,并且您需要已配置外部 URL,或者使用 IFTTT 集成中提供的 Nabu Casa 账户 webhook URL。
此集成可通过 UI 配置。前往 设置 > 设备与服务 添加。
从 IFTTT 接收事件
来自 IFTTT 的事件会作为 Home Assistant 事件提供,并以 ifttt_webhook_received 触发。您在 IFTTT 配方 Body 部分中指定的数据会作为事件数据传入。您可以使用该事件来触发自动化。请求方法请使用 POST。
例如,将 IFTTT webhook 的 body 设置为:
然后,您需要使用以下自动化处理这些传入信息:
向 IFTTT 发送事件
key 是您的 API 密钥,可在 Webhooks applet 的 Settings 中查看。它是 URL 的最后一部分(例如 https://maker.ifttt.com/use/MYAPIKEY),您可以在 My Applets > Webhooks > Settings 中找到。

将 key 添加到您的 "configuration.yaml" 文件后,重启 Home Assistant 实例。这会加载 IFTTT 集成,并提供一个可用于触发 IFTTT 事件的操作。
:::important After restarting the server, be sure to watch the console for any logging errors that show up in red, white or yellow.
:::
多个 IFTTT 密钥
如果您有多个 IFTTT 用户,可以像下面这样指定多个 IFTTT key:
测试您的触发器
您可以使用 Developer tools 来测试 Webhooks 触发器。前往 Settings > Developer tools > Actions,选择 IFTTT: Trigger 作为操作,然后填写以下值:
当您的界面类似下图时,选择 Perform action 按钮。

默认情况下,触发器会发送到 "configuration.yaml" 中的所有 API key。如果您想将触发器发送到某个特定 key,请使用 target 字段:
target 字段可以包含单个 key 名称,也可以是 key 名称列表。
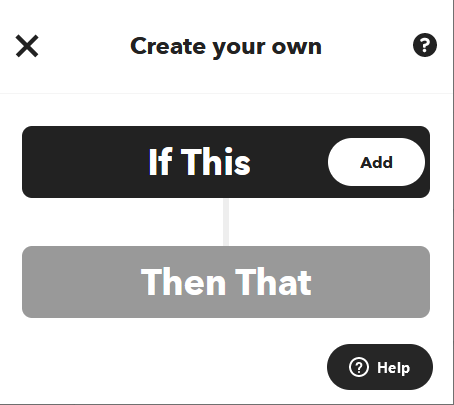
设置 applet
选择 Create 按钮,然后在 If This 中选择 Add。搜索 Webhooks。
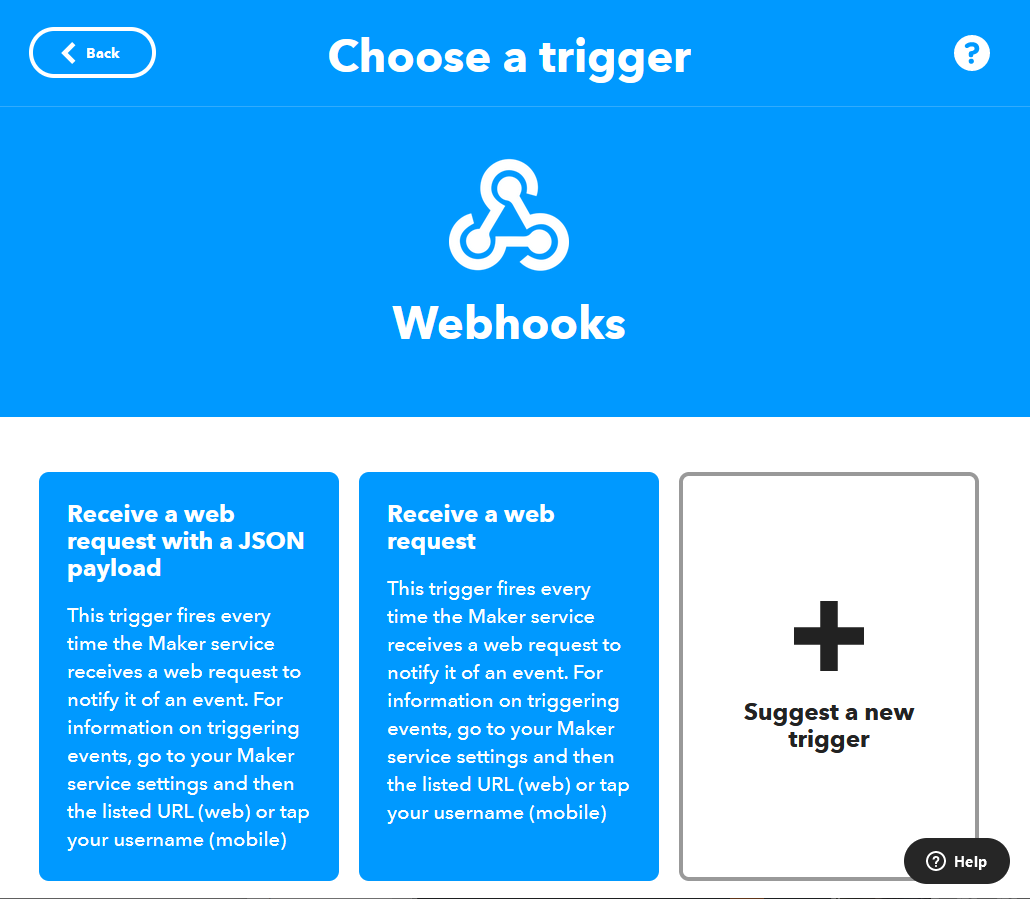
选择 Webhooks 服务。

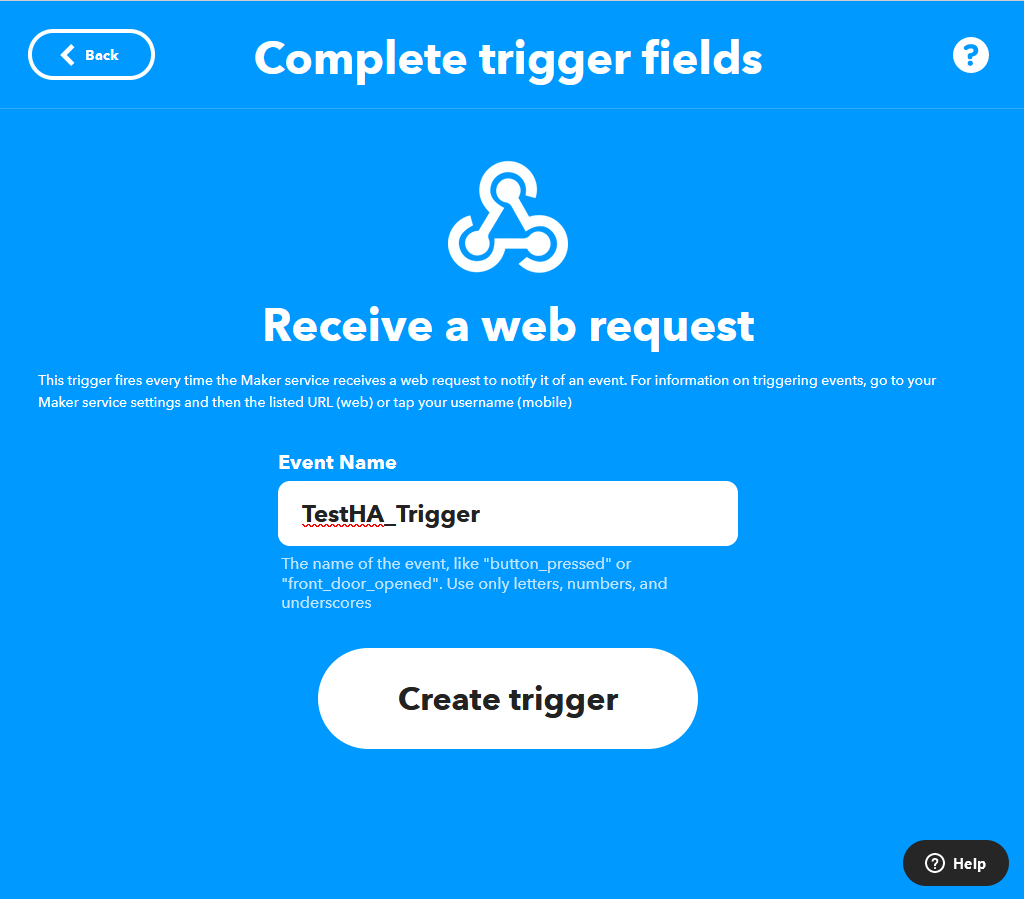
选择 Receive a web request。
您需要为发送到 IFTTT 的每个事件设置唯一的触发器。
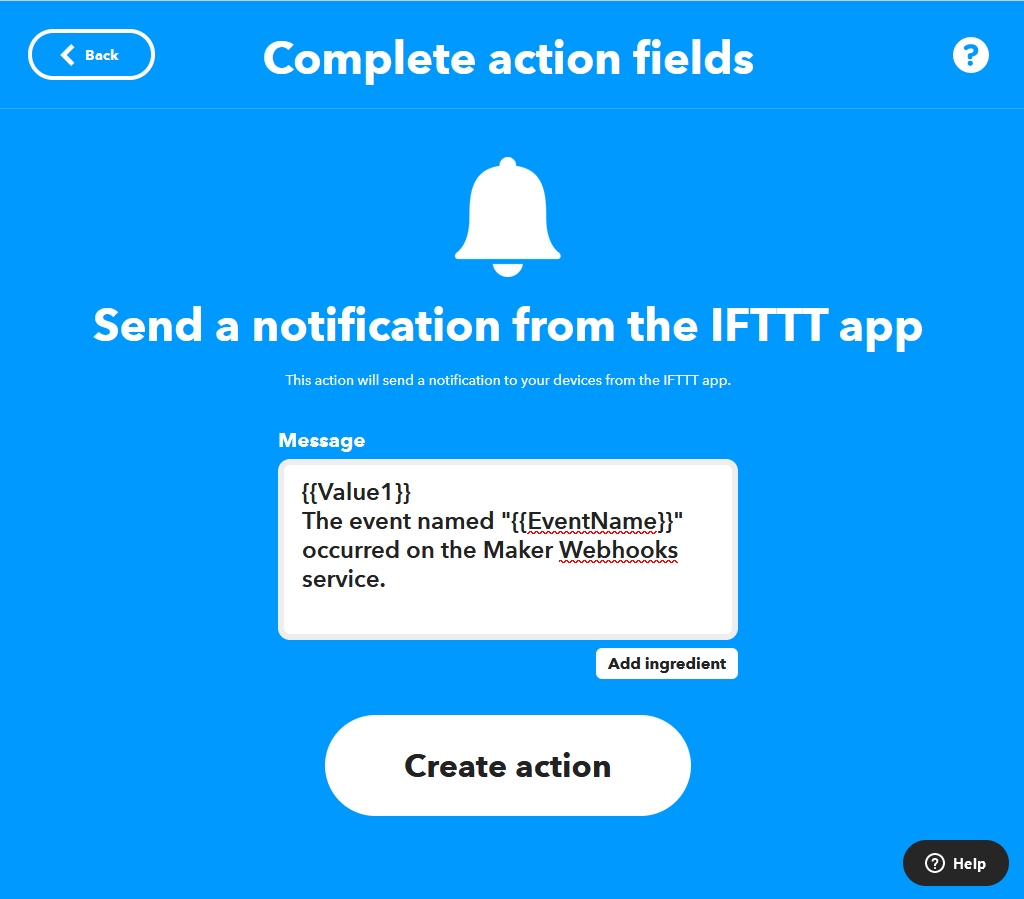
添加 Then That 操作。下方示例会向 IFTTT 移动应用发送通知,并将 value1 添加到消息中:
IFTTT 也可用于脚本和模板。以下将上面的自动化拆分为一个自动化和一个脚本,并结合变量与模板来使用。